Whether you came to this page after reading our how our blogging experiment affected our travels post or you want to start a blog like this one and need help to get started, you are in the right place. Getting started is actually very quick and easy and you could have your new blog up and running today if you follow our step by step guide. Let’s get started!
Some links to the products mentioned below are affiliate links, meaning that if you click and make a purchase, Nomad Numbers may receive a commission at no additional cost to you. For more information please review our disclaimer page.
Here are the basic steps we will be going through:
- Get a great domain name
- Find a space to put your blog on the Internet
- Install & configure a tool to manage your content
- Write content
Get a great domain name
Think of your blog like your personal brand. It is important to choose your name carefully and make sure it reflects what you will be talking about. We started Nomad Numbers because 1) we were going to become nomadic and 2) we have a passion to track things that have to do with numbers. So we put the two together and voila!
Nomad Numbers Pro-Tips:
- When it comes to choosing your domain name, don’t be too generic (mytravelblog.com), too long (thefantastictravelblogofmrandmrswanderlust.com) or just impossible to spell correctly (datravelblogue.com). Always remember that the name of your blog might be what stands between you and your future audience when they look at a list of blogs through your target niche.
- Once you have found the name for your domain we suggest you to use NamecheckR to search domain, social username and other networks availability. This is pretty handy to to quickly setup your brand.
Put your blog on the Internet
You need a place on the internet for your blog to exist, grow and strive. This is what people call “Web hosting”. For this blog, I’ve been using Bluehost since day 0 and I couldn’t be happier. Bluehost has live chat and their support is top-notch. They respond within a couple of minutes and there is no support tickets where you have to wait days for someone to get back to you but straight and great answers. I have been using other platform that are priced similarly but they don’t compare to Bluehost when it come to customer support and ease of use.
If you signup via the links on this page, prices start at less than $4/month and you get your free domain name (a $15 value). Let’s look at the few steps required to accomplish this
Step 1 – Get started
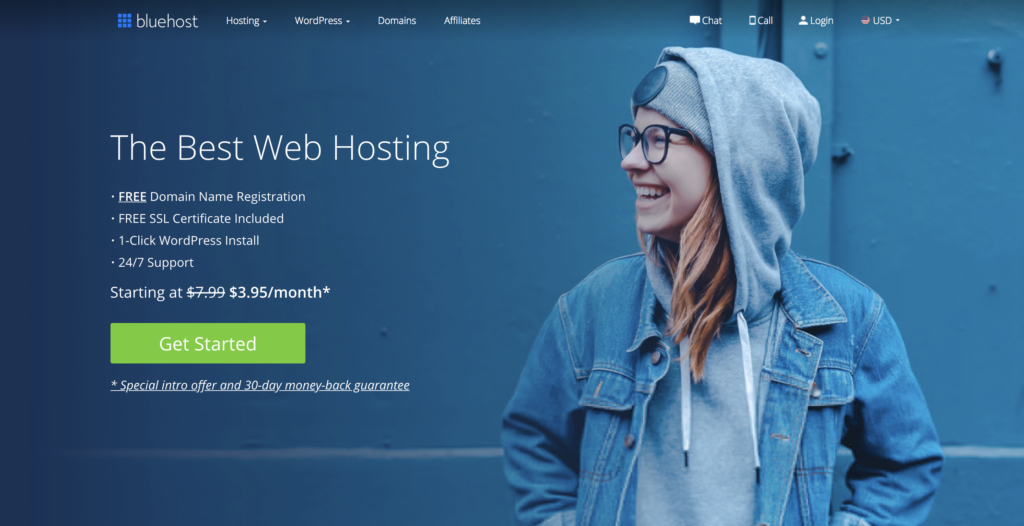
Go to Bluehost and click the big “get started now” green button similar to the one you can see on the screen capture below.
Step 2 – Select your domain
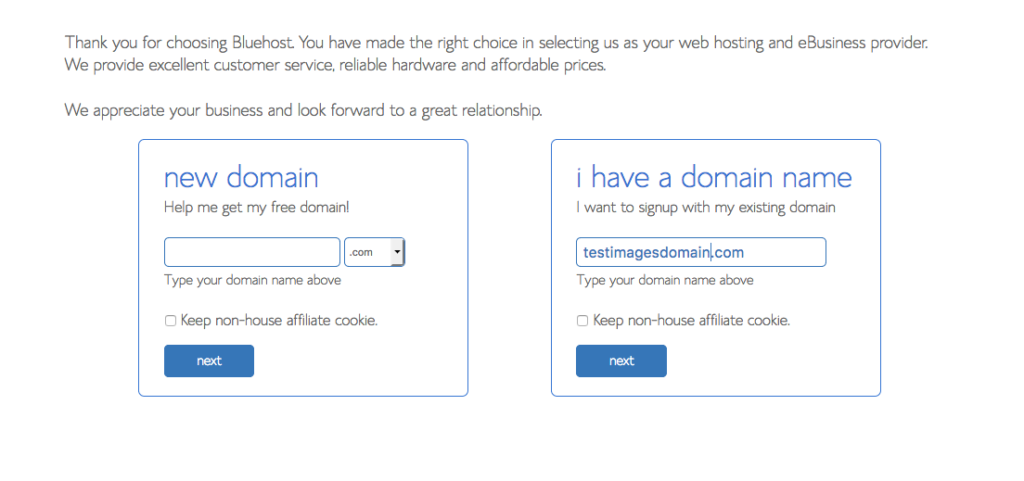
Enter the domain you would like to purchase on the “New domain” box on the left. Keep in mind that you get a free domain by using our link. (If you have already purchased your domain no worries. Simply provide it on the “I have a domain name” box on the right and Bluehost will then associate it with your account.)
Step 3 – Select your plan
Bluehost offers multiple plans. This blog currently runs on their “Basic” plan which is a really economical option that provides you more than enough to get you started.
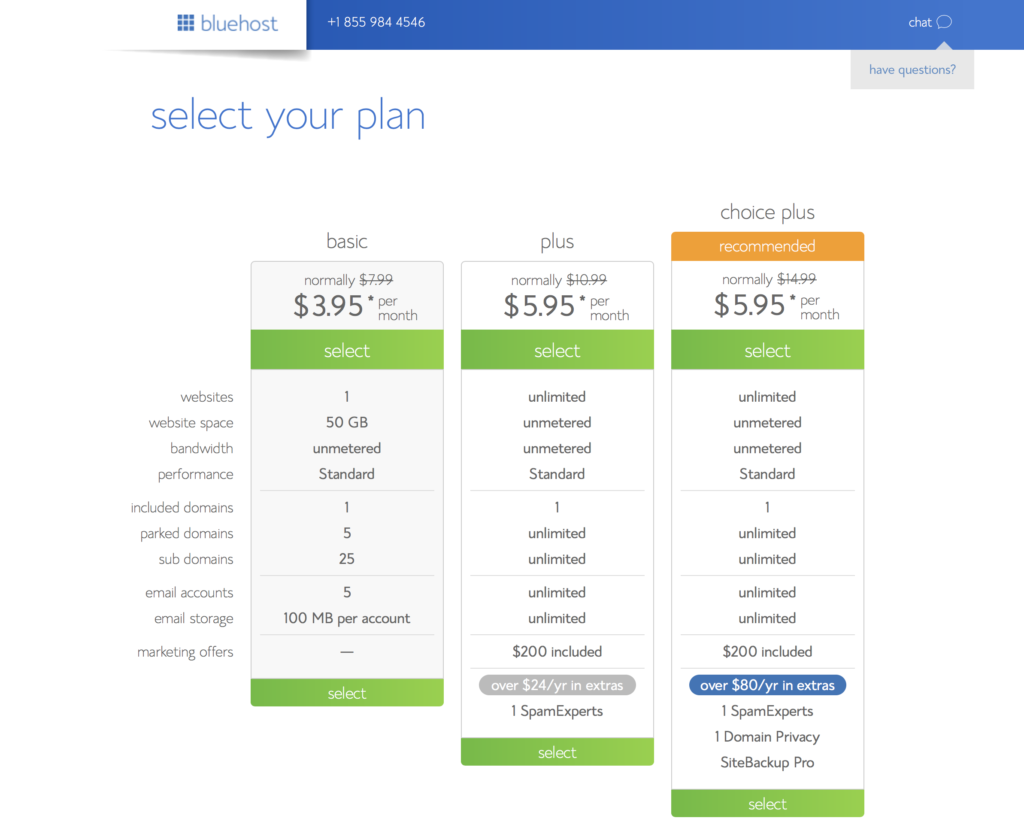
Nomad Numbers Pro-Tip: You can always upgrade to a different plan later on if you are going to get featured on the New York Times, Forbes or even Oprah! 🙂
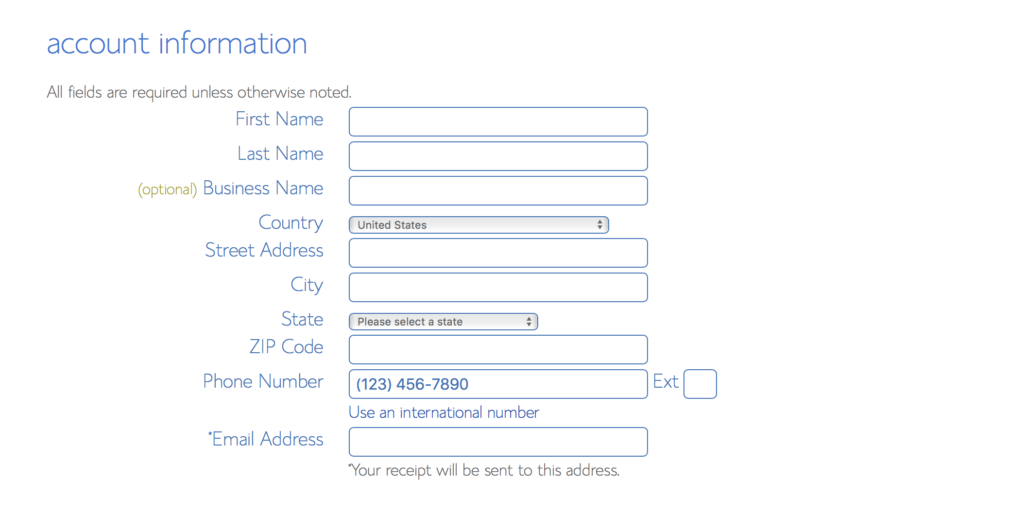
Step 4 – Provide your account information for billing
For billing purpose you can provide a mailing address (especially useful if you have a business). If you need one, we use Traveling Mailbox that we highly recommend. (see our review)
Step 5 – Package information & package extras
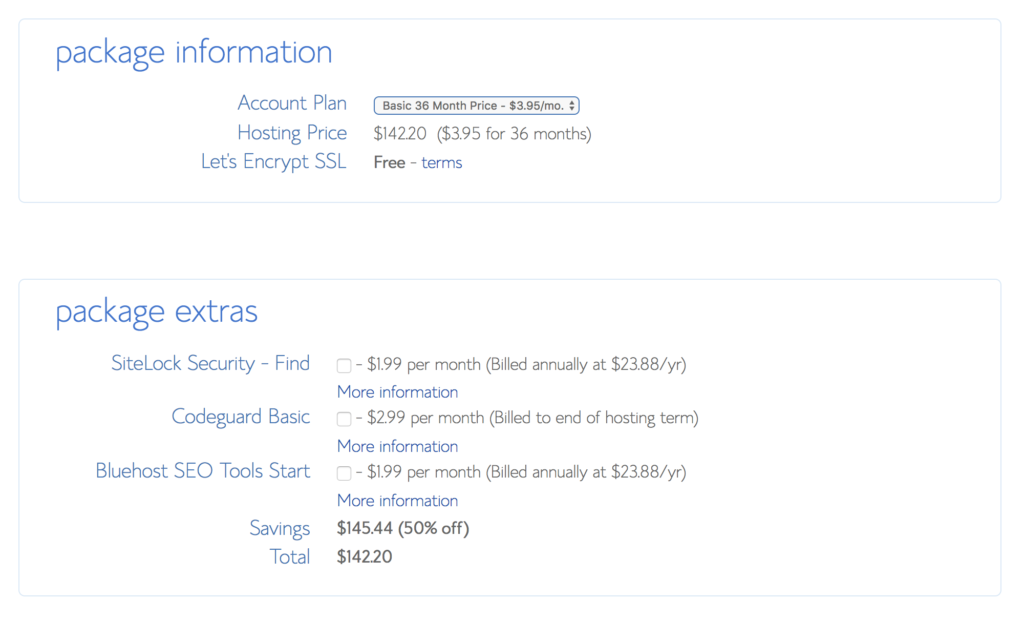
You need to choose what type of “Basic” plan you want. Through our link, it’s $3.95 per month if you sign up for 36 months, $4.95 per month if you sign up for 24 months or $5.95 per month if you sign up for 12 months.
If you are unsure about blogging, I would sign up for the 12 month plan as this is still very affordable for one year of blogging. If you are looking to get the best value you should purchase a 36 month plan. Also keep in mind that BlueHost offers a 30 days money-back guarantee, so you won’t risk losing your money if you change your mind down the line.
Once you decided which plan is best for you, make sure to uncheck all the “package extra” features as they are not really needed to get your started and you can always subscribe them later on.
Step 6 – Payment information
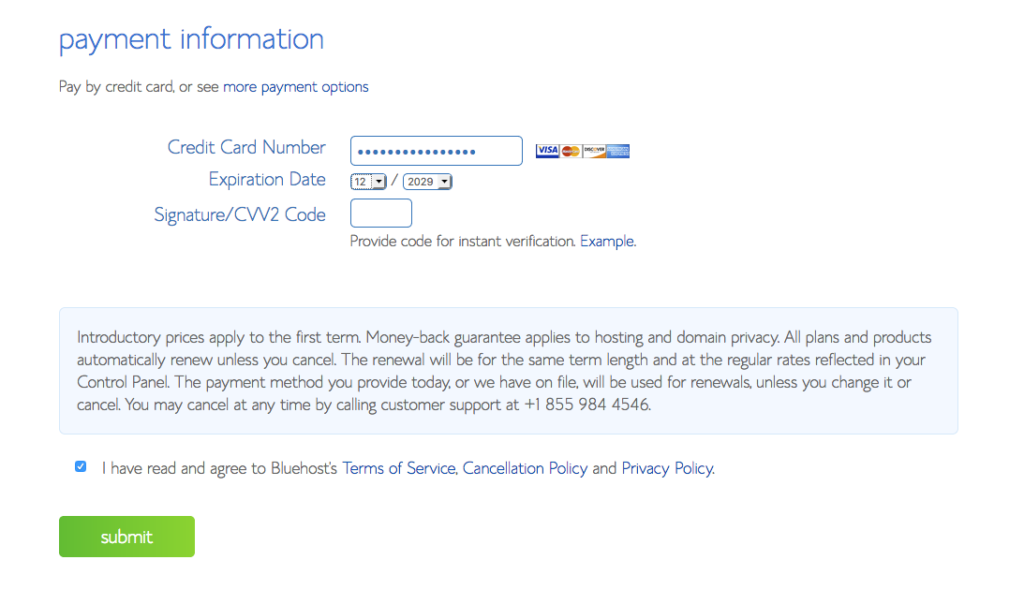
This part should be pretty straightforward 🙂
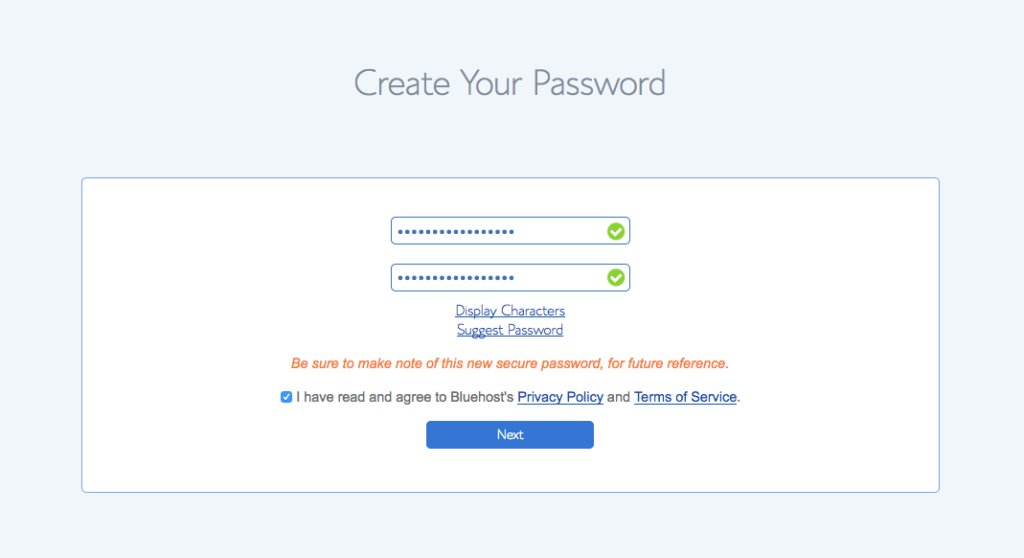
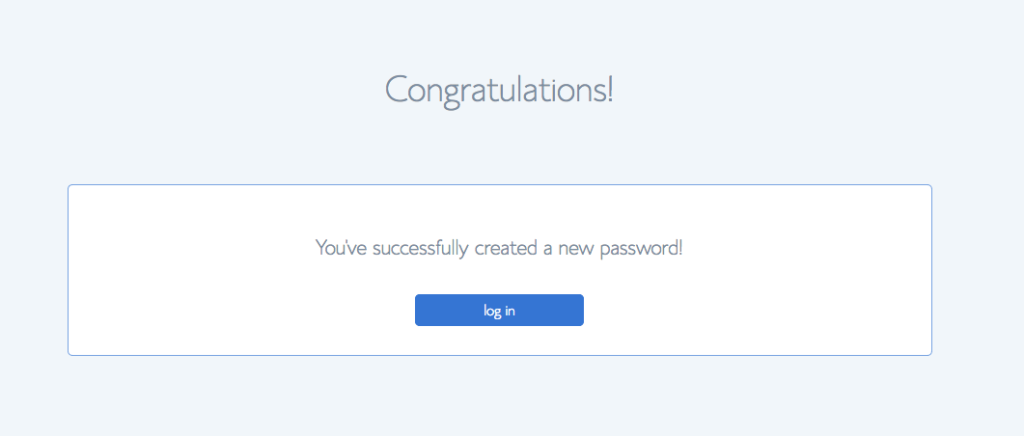
Step 7 – Setup your BlueHost account password
You then need to create a password to access your account.
Nomad Numbers Pro-Tip: Make sure you password is one that you aren’t using on other sites, that is long enough (8+ characters minimum) and that has some special characters in it.
Install WordPress
Now that you have a place for people to find you on the internet, you need to install a software to let you manage your articles and any other resources you would like to put on your blog (images, videos…). This is where WordPress comes to the rescue!
WordPress is the world leading blogging software. It is free to install, highly customizable (with thousands of plugins and templates) and it is already used by approximately 75 millions websites making it a no brainer option for you to choose.
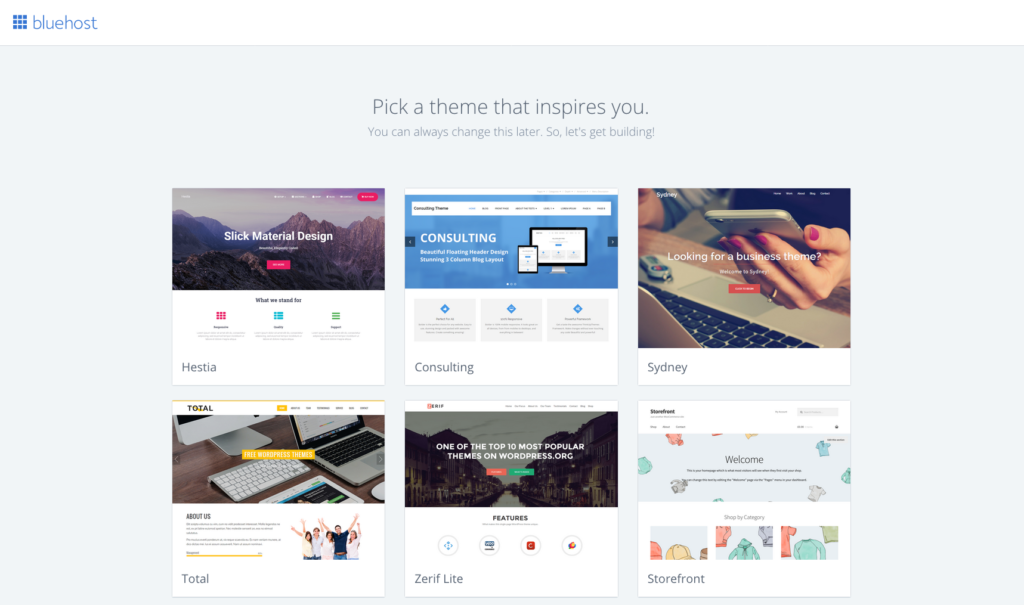
It turns out that Bluehost lets you install WordPress in a single click and this is done behind the scenes. As you continue through the registration process, you will be asked to pick a “theme” from a small selection of options. Themes are a specific look and feel for your blog. Just pick the first one for now (unless there is one that you love and you want to stick with). Later on I will show you how to pick themes from a much larger selection of options thanthe one currently offered here.
Congratulation, you’ve successfully purchased your domain and have installed WordPress on it. You have now completed the registration process.
Configure WordPress
Let’s now spend time to configure WordPress to make it shine.
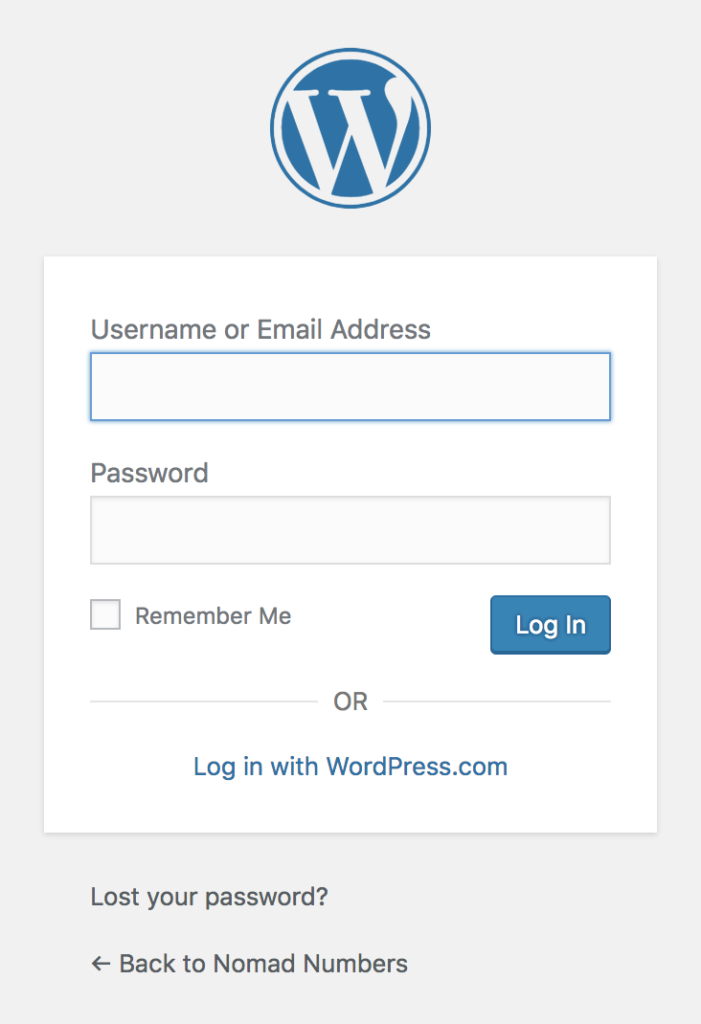
Step 1 – Login to your site
Login to your new site at http://www.yourblog.com/wp-admin/ (Make sure the replace www.yourblog.com with your domain).
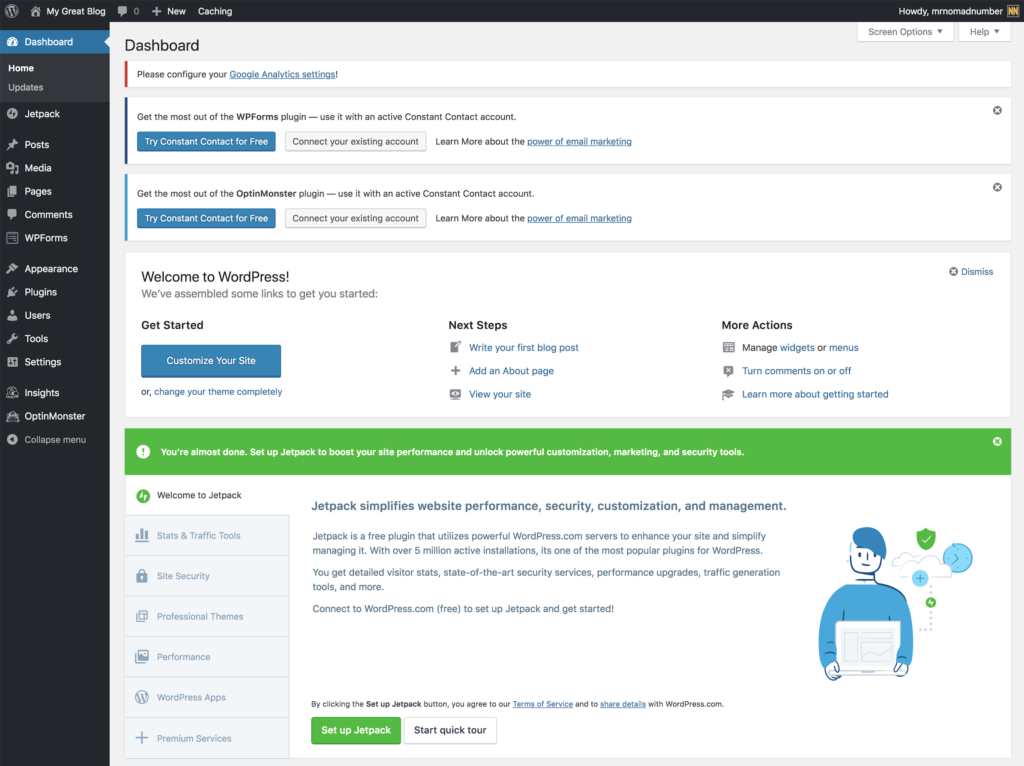
Upon successful login you should see the WordPress Main Admin page that should look similar to this:
Step 2 – Themes
The first thing you would like to do is to select a theme that fits your need. Think about a theme like the look and feel for your blog. What is great with WordPress is that if you later decide to change your theme, you won’t have to rewrite any articles you spent time on. The theme can be swapped really easily which is one of the reasons why a lot of people like using WordPress.
To select a new theme, from the WordPress Main Admin page select the “Appearance” option from the left navigation bar and then select “Theme”. From there click the “Add New” button. You can now choose your theme from a selection of 5000+ options (if they aren’t showing up make sure to click the “Features” tab).
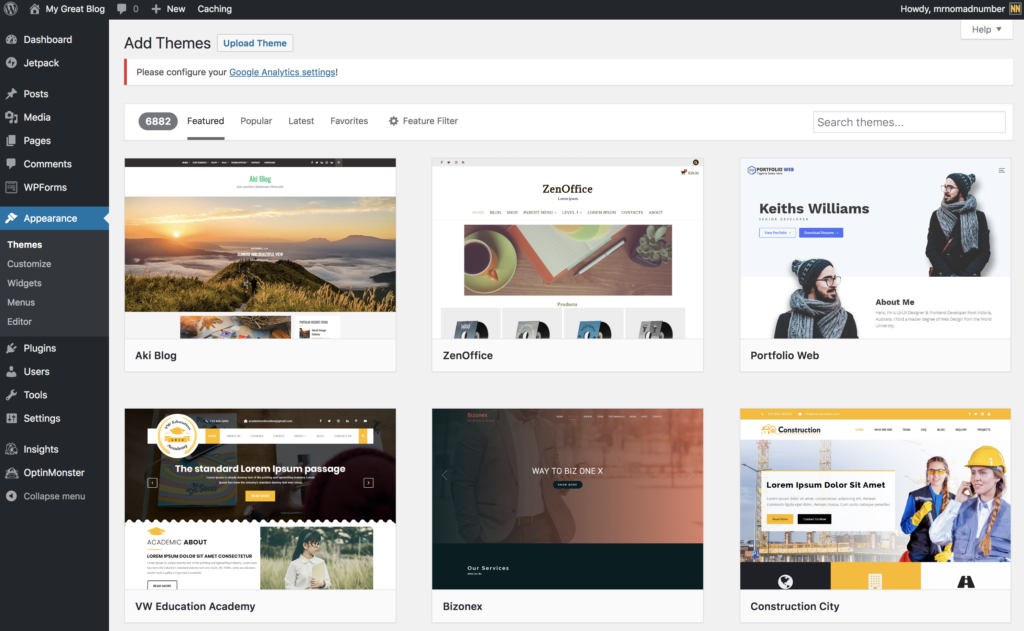
Note: The theme we are currently using on our blog is Dyad 2.
Step 3 – Plugins
Plugins are tools that you can add to make blogging easier. To manage them, from the WordPress Main Admin page select the “Plugin” option from the left navigation bar. You can their click the “Add New” button to select the plugin you would like to install.
Nomad Number Pro-Tip: As a general rule of thumb, it is best practice to only select a few plugins as they tend to slow down the performance of your blog. Here are the plugins that I’ve been using for Nomad Numbers:
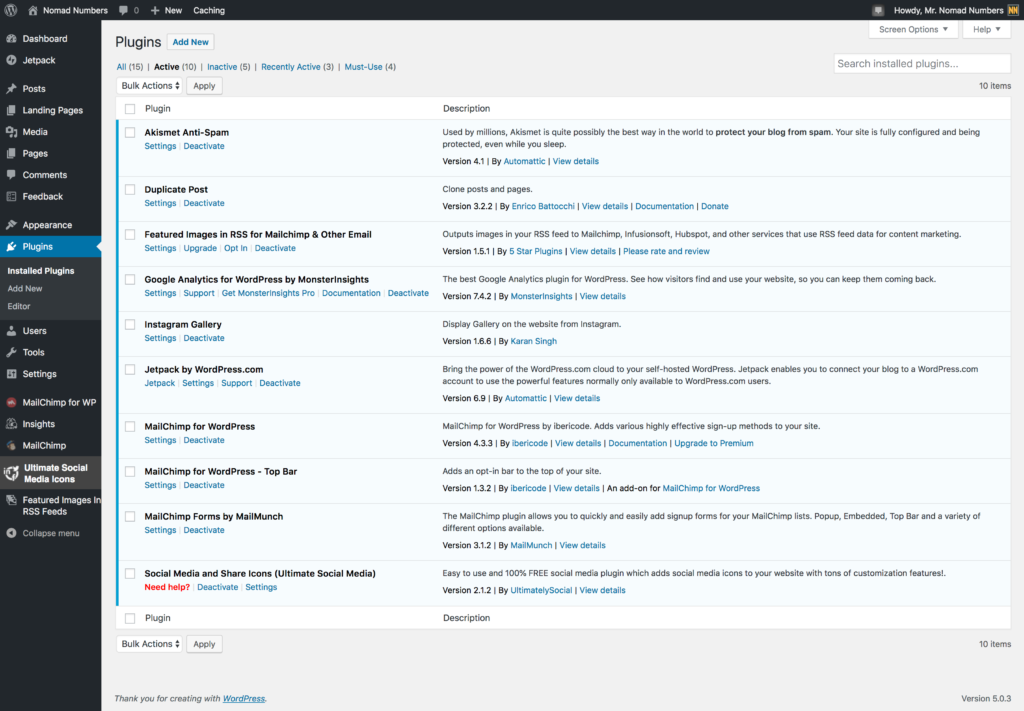
- Akismet Anti-Spam – Critical to protect your blog from spam
- Duplicate Post – Useful if you want to duplicate your blog posts as WordPress doesn’t offer this capability natively
- Featured Images in RSS for Mailchimp & Other Email – You need this plugin if you would like to have the image of your post to be added to your blog’s RSS feed. I use this in conjunction with MailChimp
- Google Analytics for WordPress by MonsterInsights – Connect your blog with Google Analytics
- Instagram Gallery – Lets you integrate your Instagram gallery directly on your blog
- Jetpack by WordPress.com – Connect your blog with WordPress.org and provides powerful features such as site statistics
- MailChimp for WordPress – Integrates your blog with MailChimp
- MailChimp for WordPress – Top Bar – Provide a top-bar to allow your users to subscribe to your newsletter
- Social Media and Share Icons (Ultimate Social Media) – Lets you add Social Media icons to your blog
Step 4 – Third party services
Services are third parties tools that you can integrate WordPress with. We use the following services:
- MailChimp – MailChimp allows us to manage the list of people that subscribe to our newsletter and define various campaigns that we sent to them (like our blog post of the week, our the items we provide for free upon subscription).
Step 5 – Social media
Writing content is really important, making sure people can read it is even more important. One way to reach out to your audience is be present on major social channels so you should create social handle on your social media of choice. Nomad Numbers is currently available on Facebook, Twitter, Pinterest, Instagram and Youtube. We use each of these channels for specific reasons.
Nomad Numbers Pro-Tip: While at first your should focus on publishing a lot of content, once you have enough to start telling compelling stories, you should spend about 20% of your time to focus on your content and 80% of your time to market your content to your audience.
Step 6 – Start writing
Congratulations, you are now the owner of a pretty nice looking and operational blog.
Time to shine!
It is now your time to shine and get all of your creativity flowing through your fingers. Here are some additional tips to get your started:
- Start by writing your about page – This is a great exercise as it should be able to articulate to your audience who you are, what is your story, what is your blog about and eventually how is your blog different from the others that might discuss a similar topic. Our first version of our about page was pretty weak but as we keep adding content to our blog it was easier to make for a more convincing story by linking to some of our blog posts.
- Blog about what you are interested in – Blogging requires time and effort so you should make sure you talk about something you are excited about. It has to be fun, otherwise you will stop blogging really soon
- Define a realistic schedule and stick to it – Having a schedule lets me publish one article each week since we started this blog. It is very easy to get distracted in life so that was a life saver for us. Also make sure your schedule is realistic and that you can stick to it. You will get burnt out pretty quickly if you try to publish more article than you have the time to work on.
- Perfection is your worst enemy – Don’t try to be perfect for your blog. I like to use the 80/20 rule where I put 20% of the effort to get to 80% of the results.
- Connect with others bloggers/communities – Once you have published an article, share the love about it in similar communities than yours. Go to your favorite blogger’s sites and comment on their posts. If you have a connection with them, reach out and ask them if they will be willing to promote your post.
I hope this is useful. If you have any additional questions feel free to leave a comment in the comments section below.



1 Comment
Blog Income Report - Q4 2020 — Nomad Numbers · January 27, 2021 at 5:26 am
[…] Want to know more? Check out our detailed step by step guide to get you started with your blog in minutes […]